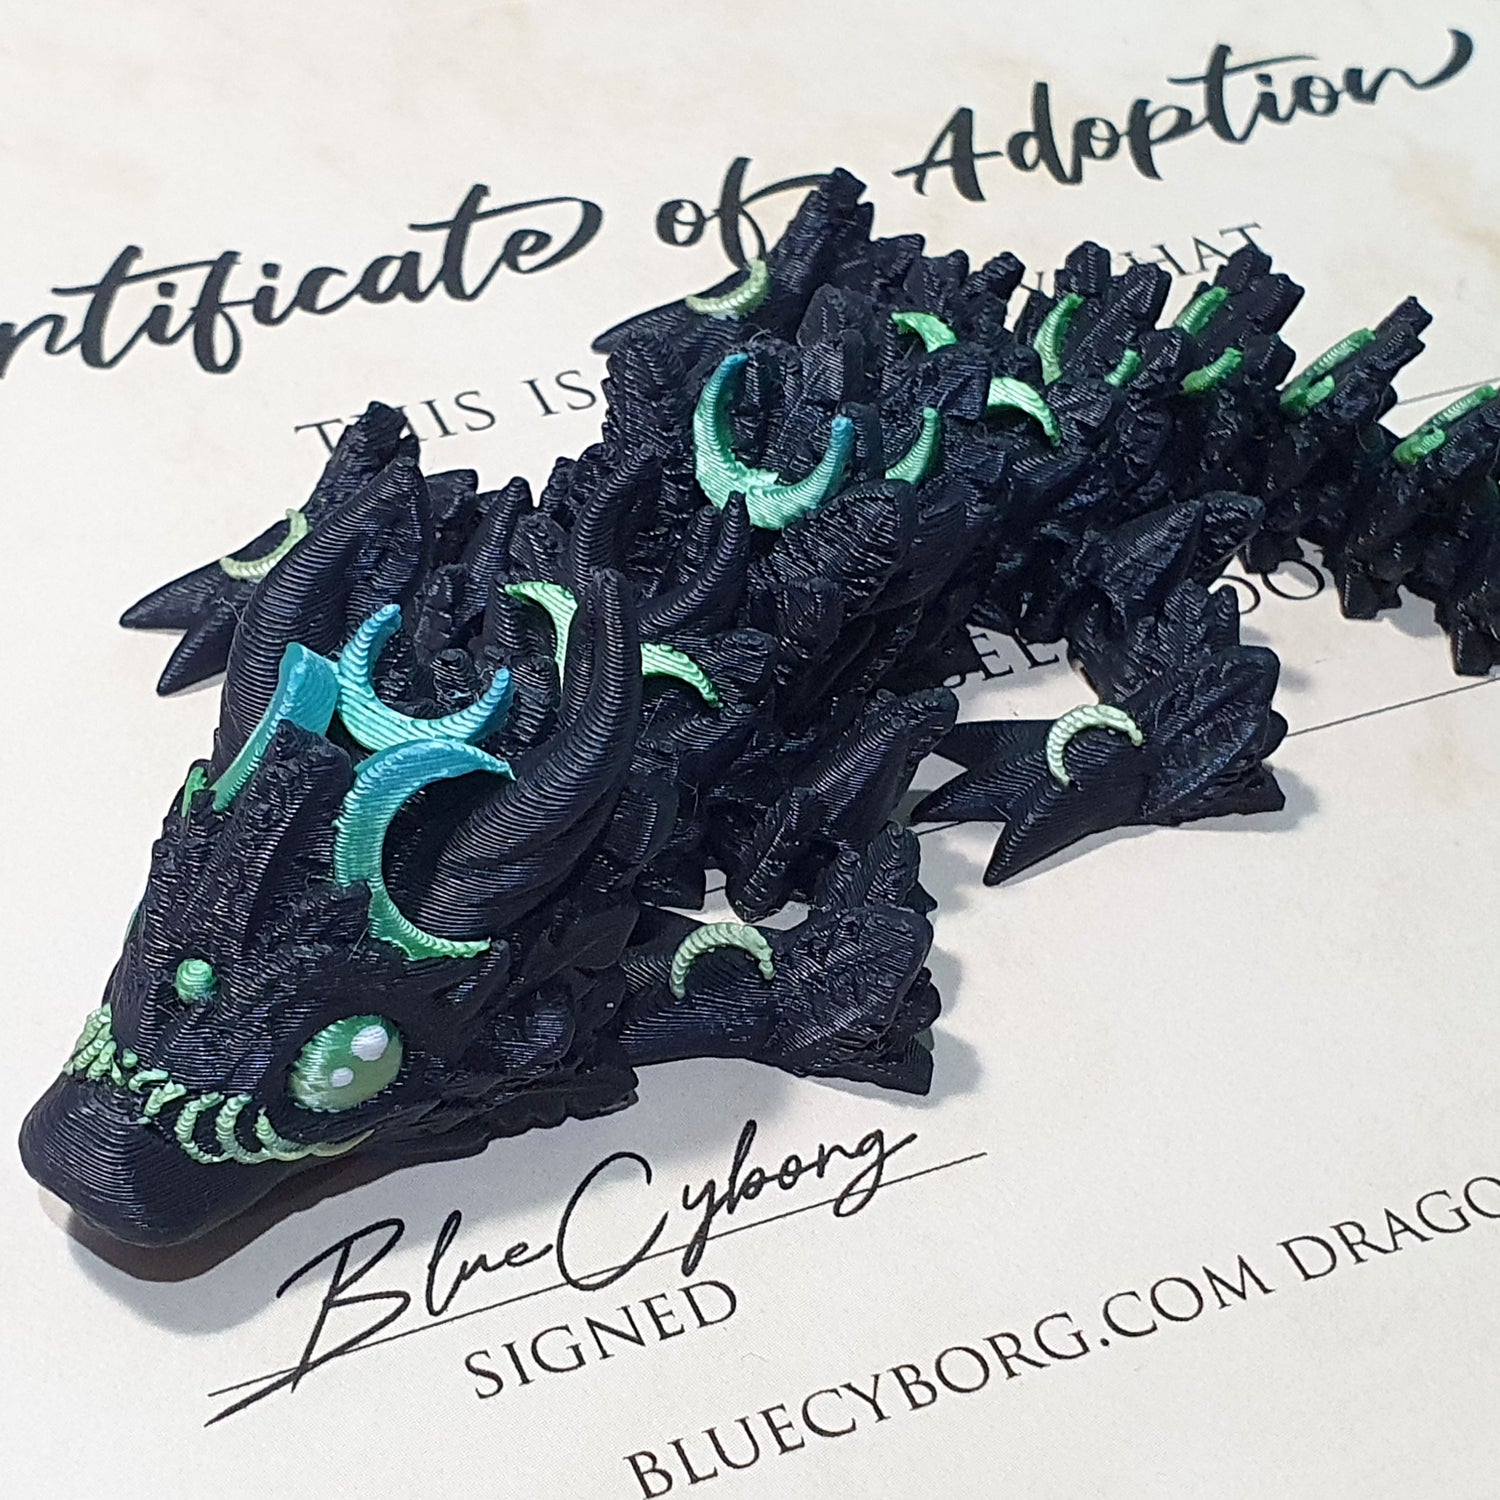
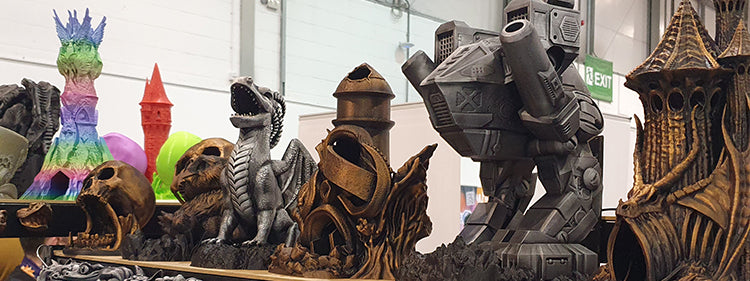
Who says 3D printed products have to be boring? Not us! Our 3D printed creations are not only functional and ready to be used as is, they are also a blank canvas just waiting for you to unleash your creativity. Get ready to have a blast with the ultimate DIY project: painting your 3D printed masterpiece! With your unique touch, your creation will stand out and become the envy of anyone who lays eyes on it. So, let's get started and make something truly extraordinary!
The process of 3D printing isn't always flawless, and the product you receive may not be ready for painting. In this blog post, we'll be discussing how to prep 3D prints for painting, so you can get a flawless finish on your 3D printed models.
Step 1:
Clean the 3D Print The first step in prepping a 3D print for painting is to clean it thoroughly. The print may have dust, debris, or leftover supports, which can interfere with the paint's adhesion. Cleaning the print can be done by using a soft-bristled brush to remove any debris or dust particles. If the print has support structures, use pliers to gently remove them.
Step 2:
Sand the 3D Print After cleaning, sanding the 3D print is the next step in prepping it for painting. Sanding the print removes any rough surfaces or imperfections, giving the paint a smooth surface to adhere to. You can use fine-grit sandpaper (between 220 and 400 grit) to sand the print's surface. Sand in a circular motion to ensure even sanding across the entire surface.
Step 3:
Prime the 3D Print Priming the 3D print is essential to create a smooth surface for the paint to adhere to. It also helps to cover up any remaining imperfections or print lines. Priming can be done using a spray primer or a brush-on primer. Apply a thin layer of primer to the entire surface of the 3D print, and let it dry completely before moving to the next step.
Step 4:
Paint the 3D Print Once the primer has dried, it's time to paint the 3D print. Acrylic paint is a good choice for 3D prints because it adheres well to plastic and dries quickly. Paint the print with thin coats of paint, allowing each coat to dry before applying the next one. Thin coats prevent drips and make it easier to get an even finish. It's also recommended to use a high-quality paintbrush to avoid brush strokes on the print's surface.
Step 5:
Finish the 3D Print After painting the 3D print, it's time to finish it. Applying a clear coat or varnish can protect the paint and give it a glossy finish. A clear coat or varnish can also help to hide any remaining print lines or imperfections. Apply the clear coat or varnish in thin, even coats, and let it dry completely before handling the print.
After you've put your artistic skills to work and brought your 3D printed creation to life with a pop of colour, don't be shy! We're itching to see what you've come up with. Share your masterpiece with us by tagging us in your photos or sending them to our socials. Show off your incredible creation and inspire others to unleash their inner artist. Let's spread the joy of 3D printing and painting together!